Hans Ogren Photography
Home
Services & Products
Real Estate
Wedding/Engagment
People/Pet Portrait
Aerial/Drone Services
Purchase Prints/Items
Galleries
Nature/Landscape
People/Portraits
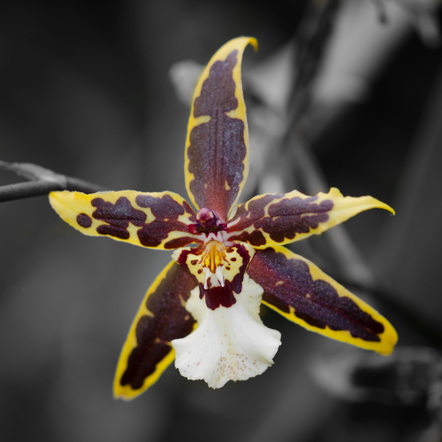
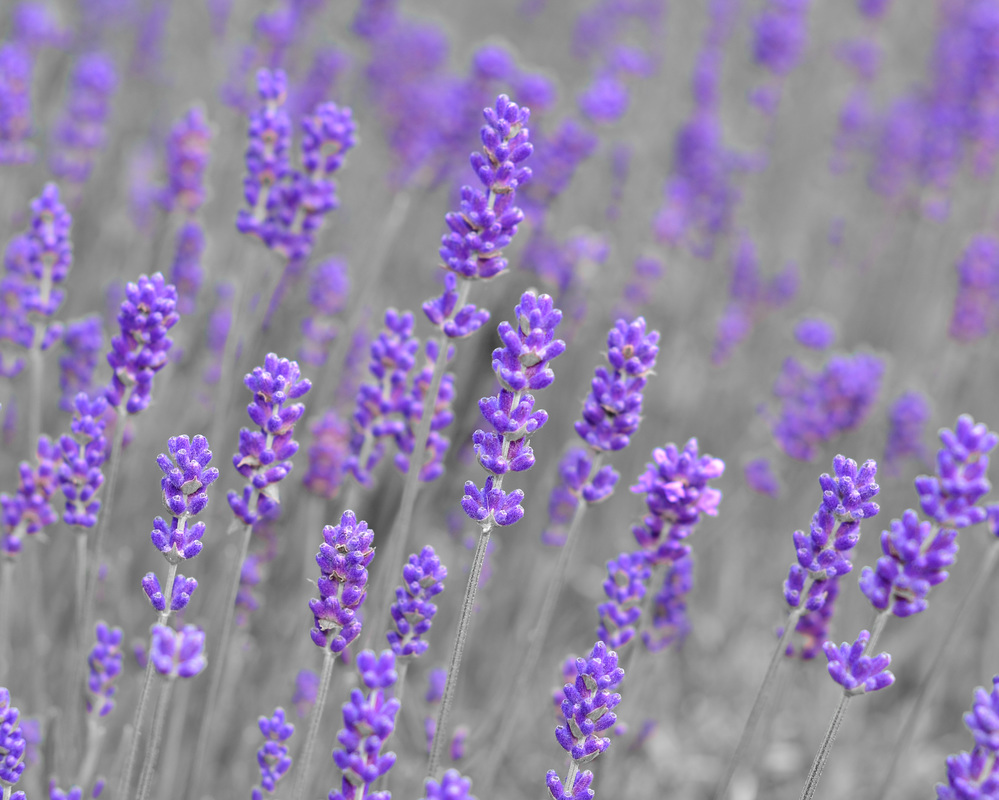
Flowers
Coastal/Seascapes
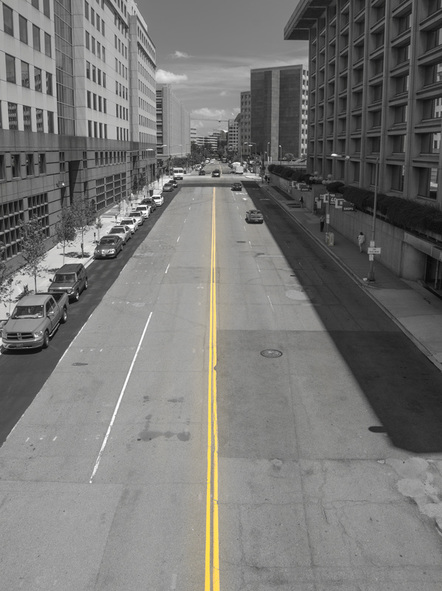
City and Man-Made
Pets & Animals
Testimonials
Blog
About Hans
Contact
Home
Services & Products
Real Estate
Wedding/Engagment
People/Pet Portrait
Aerial/Drone Services
Purchase Prints/Items
Galleries
Nature/Landscape
People/Portraits
Flowers
Coastal/Seascapes
City and Man-Made
Pets & Animals
Testimonials
Blog
About Hans
Contact